The Dexcom G6 sensor is a valuable tool for people with diabetes. Who wants to keep track of their glucose levels. However, the thought of inserting and using the sensor for the first time can be daunting. Fortunately, with a bit of practice and knowledge, inserting and using the Dexcom G6 sensor can become second nature. In this article, we’ll provide you with a step-by-step guide on how to insert and use your Dexcom G6 sensor. We’ll cover everything from how to prepare the site. How to insert the sensor, and how to use the receiver or mobile app to monitor your glucose levels. By the end of this article, you’ll have the confidence and knowledge to insert and use your Dexcom G6 sensor with ease, giving you the ability to monitor your glucose levels more effectively. It help you manage your diabetes more efficiently.
Preparing for Sensor Insertion
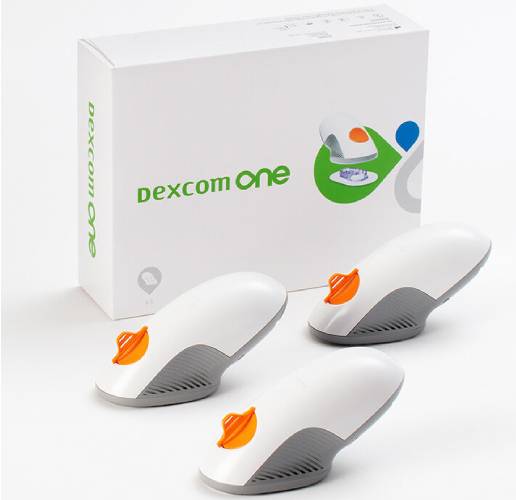
Before inserting a Dexcom G6 Sensor, it’s important to properly prepare yourself and the site where the sensor will be placed. This includes understanding the location options for the sensor. Ensuring that the site is clean and dry, and being aware of any potential risks or complications. Additionally, it’s important to have all necessary materials ready, such as alcohol wipes and the sensor applicator. Preparing for sensor insertion can help ensure that the process goes smoothly. That you are able to properly monitor your glucose levels with the Dexcom G6 system.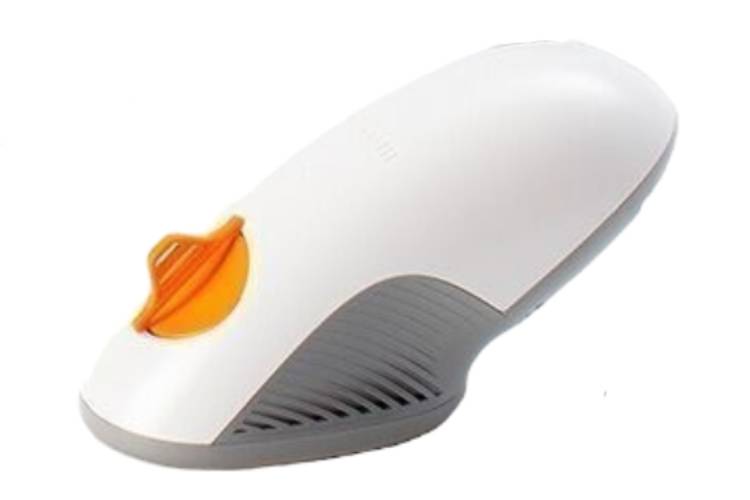
Cleaning the Site: Why It’s Important and How to Do It Properly?
Cleaning the site where the sensor will be placed is a crucial step in the Dexcom G6 system. It helps to reduce the risk of infection, ensure proper adhesion, and improve the accuracy of glucose readings. To clean the site properly, first wash your hands with soap and water. Then, use an alcohol wipe to clean the area where the sensor will be inserted. Make sure the area is completely dry before inserting the sensor. It’s important to avoid using any other products or solutions to clean the site, as they can interfere with the sensor’s accuracy.
Activating the Sensor: What to Expect and How to Do It?
Activating the sensor is a simple process that can be done using the Dexcom G6 app. Before activating the sensor, make sure that the transmitter is properly inserted and the site is clean and dry. Then, follow the instructions in the app to activate the sensor. Once activated, the sensor will need to warm up for a period of time before it can start providing glucose readings. During this time, it’s important to avoid inserting the transmitter or starting a new sensor session.
Connecting the Transmitter: How to Ensure a Proper Connection?
Connecting the transmitter is an important step in the Dexcom G6 system. As it allows the sensor to communicate with the receiver or mobile app. To ensure a proper connection. It makes sure that the transmitter is fully charged. That the contacts on the transmitter and sensor are clean and dry. Then, place the transmitter onto the sensor and wait for it to click into place. Once the transmitter is connected, it should start communicating with the receiver or mobile app and providing glucose readings.
Pairing with the Receiver or Mobile App
Pairing the Dexcom G6 system with a receiver or mobile app is a simple process. To pair with the receiver, turn on the receiver and follow the on-screen instructions to pair it with the transmitter. To pair with the mobile app, download the Dexcom G6 app and follow the instructions to set up a new account and pair the app with the transmitter. Once paired, the receiver or mobile app will start receiving glucose readings from the sensor. It provides alerts and alarms as needed.
Setting Up Alerts and Alarms: How to Customize Your Settings?
Setting up alerts and alarms is an important part of using the Dexcom G6 system, as it helps you stay informed about changes in your glucose levels. To customize your settings, open the app or receiver and navigate to the settings menu. From there, you can choose which types of alerts and alarms you want to receive, as well as the threshold levels at which they should be triggered. You can also customize the sounds and vibrations associated with each alert or alarm.
Calibrating Your Dexcom G6 Sensor: What You Need to Know?
Calibrating your Dexcom G6 sensor is an optional but recommended step to help improve the accuracy of glucose readings. To calibrate the sensor, you will need to take a blood glucose measurement using a traditional glucose meter and enter it into the Dexcom G6 app or receiver. The calibration process can be done as often as every 12 hours, but it’s important to avoid calibrating too frequently or too infrequently, as this can affect the accuracy of the sensor’s readings. Additionally, it’s important to calibrate the sensor when your glucose level is stable, such as in the morning before breakfast or at bedtime, to ensure the most accurate readings.
Conclusion
In conclusion, inserting and using the Dexcom G6 sensor is a relatively simple process that can greatly benefit those who need to monitor their glucose levels. By properly preparing for sensor insertion, cleaning the site, activating the sensor, connecting the transmitter, pairing with the receiver or mobile app, setting up alerts and alarms, and optionally calibrating the sensor, users can ensure accurate glucose readings and stay informed about any changes in their levels. The Dexcom G6 system offers a convenient and effective way to monitor glucose levels, and by following these steps, users can make the most of its capabilities and enjoy greater peace of mind.